Floor Tile for Every Room
Floor tile installation covers a wider range of rooms and material types than most homeowners realize. Bathroom floors, kitchen floors, entryways, laundry rooms, mudrooms, hallways, and open living areas all present different technical requirements — different subfloor conditions, traffic loads, moisture exposure, and aesthetic priorities.
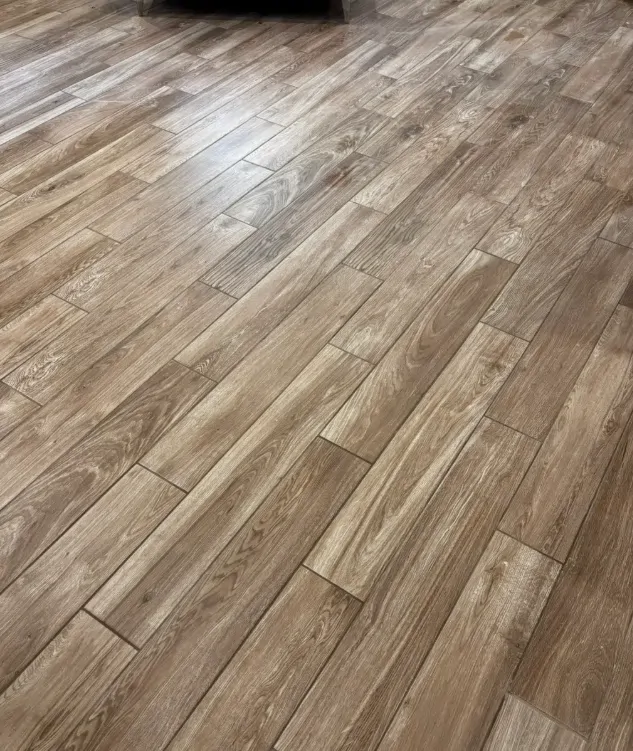
We handle all of them. Large-format porcelain slabs (24x48 or larger) in open living areas. Wood-look porcelain planks in bedrooms and hallways. Classic 12x12 ceramic in utility rooms. Mosaic tile in shower floors and entryway inlays. The material choice affects the installation method, and we adjust accordingly.
Substrate Flatness: The Foundation of Every Good Floor
The tile industry standard for large-format tile is no more than 1/8 inch variation over a 10-foot run. Achieving that requires flattening the subfloor before any tile is set — not just shimming individual pieces as you go. We use self-leveling compound where needed and grind high spots when the subfloor is concrete. On wood subfloors, we check for flex and add blocking or cement board as the situation requires. Skipping this step is why floors develop lippage (one tile edge sitting higher than the next) that's impossible to fix without pulling everything up.
Pattern & Layout Planning
Before mortar is mixed, we dry-lay the tile to establish the layout. Starting point, pattern direction, and perimeter cut size are all determined in this phase. For diagonal patterns, the starting point shifts to the center of the room. For plank tile, the layout needs to account for the room's longest wall and avoid cuts under 1/3 of a tile width at the edges. These decisions look simple but affect the finished appearance significantly — a floor where the cuts at two opposite walls are wildly different sizes looks off, even if you can't immediately identify why.
Expansion Joints & Movement
Tile floors need expansion joints at perimeter walls and at intervals in large open areas. Without them, seasonal movement in the subfloor causes grout to crack or tiles to pop. We plan joint placement during the layout phase and use the appropriate flexible caulk (color-matched to the grout) at those locations. This is a detail that often gets skipped in lower-quality installations and shows up as cracked grout lines within the first year.
How a Floor Tile Project Goes
Subfloor condition check, moisture reading, flatness measurement
Grinding, leveling, cement board or membrane as required
Dry layout, pattern planning, snap lines
Mortar, back-butter, leveling clips, full coverage
Grout, seal, expansion joints, final walkthrough